SQLite3 Database Browser
AWS-Marketplace
https://aws.amazon.com/marketplace/pp/prodview-cygubkcl3m4ou https://aws.amazon.com/marketplace/pp/prodview-fth56eilfbdg2
Usage Instructions
1. Xrdp Server Connection
The XRDP backend is supported by the Remote Desktop Client built into Windows computers.
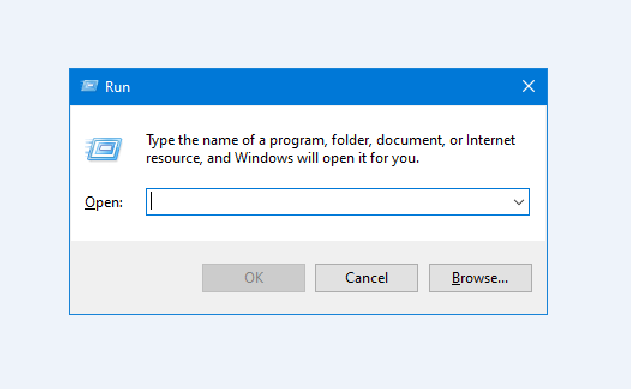
Step 1: Press Win+R simultaneously on the keyboard, type "mstsc," and the system will search for the Remote Desktop Connection tool.
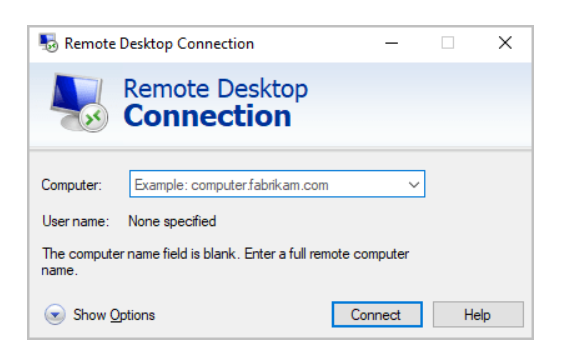
Step 2: Enter the public IP of the server and click [Connect].
Step 3: If prompted, click [Yes] to proceed.
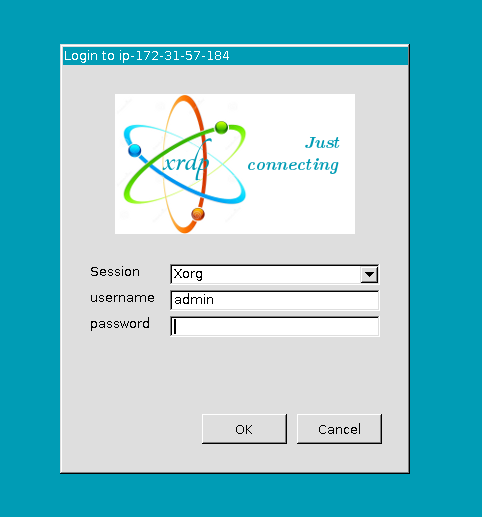
Step 4: In the XRDP dialog box, enter the admin account and password for the server: 8 characters after the instance ID.
For example:
instance ID = i-0e142bd9e020bbf3a
username: admin or ubuntu
password: 020bbf3a
Step 5: After a successful login, you will be able to see the xfce Desktop.
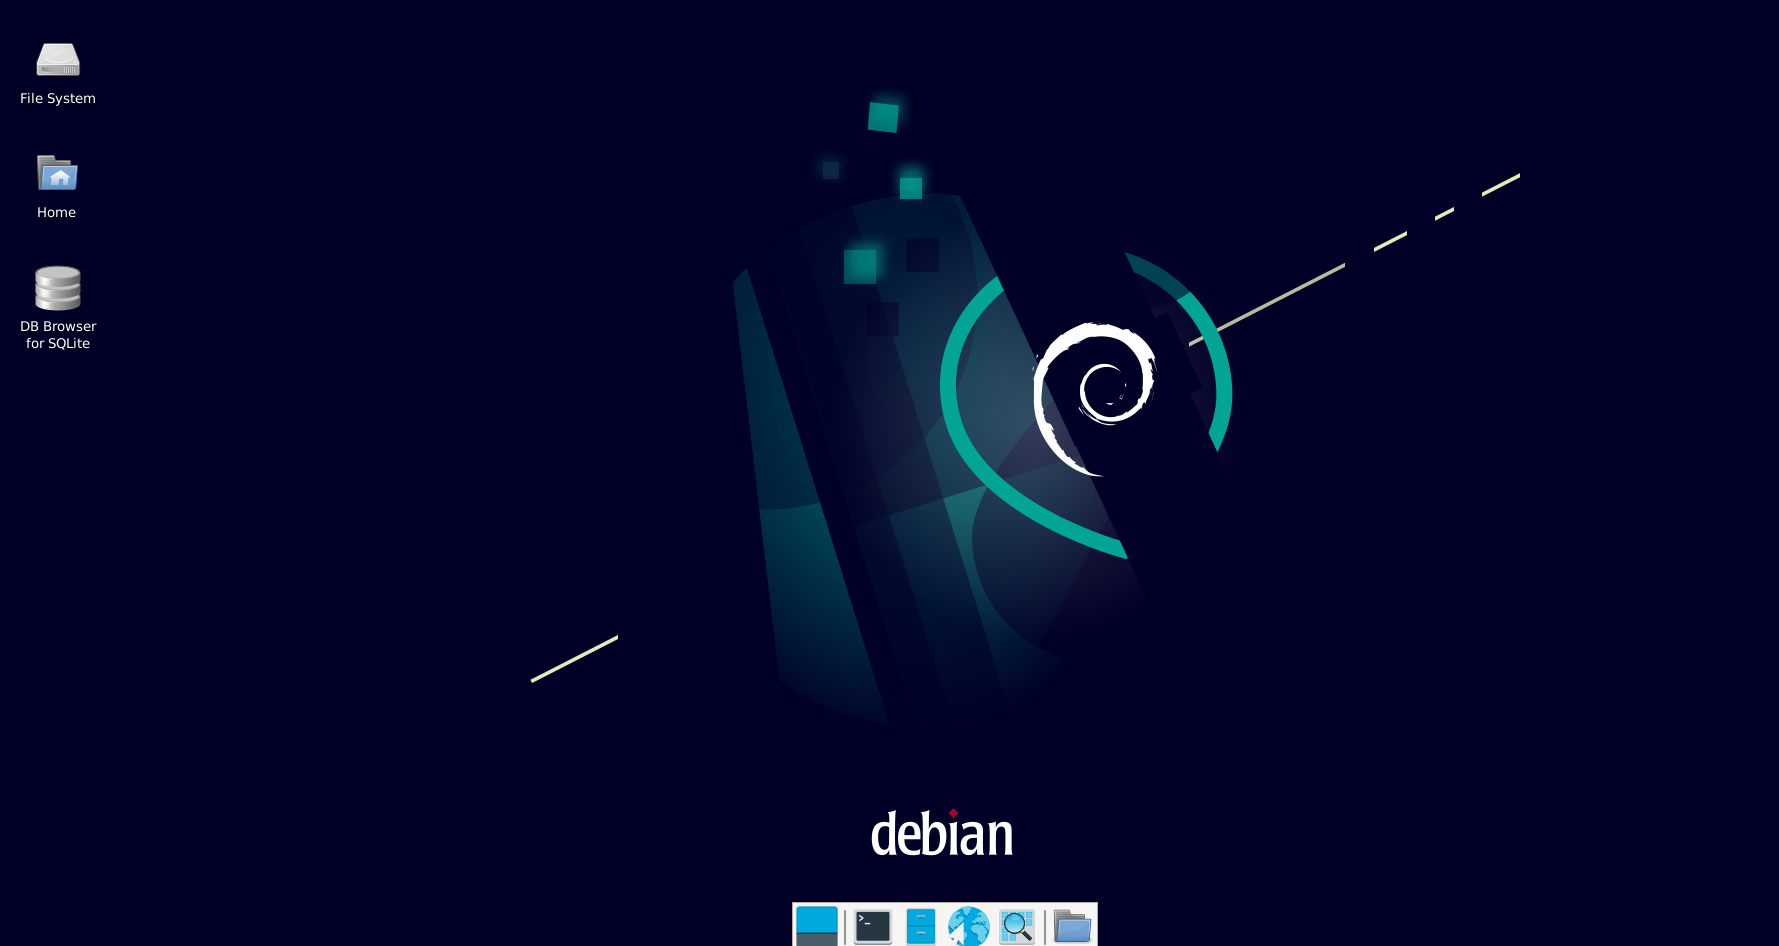
Step 6: After a successful login, you will be able to see the gnome Desktop.
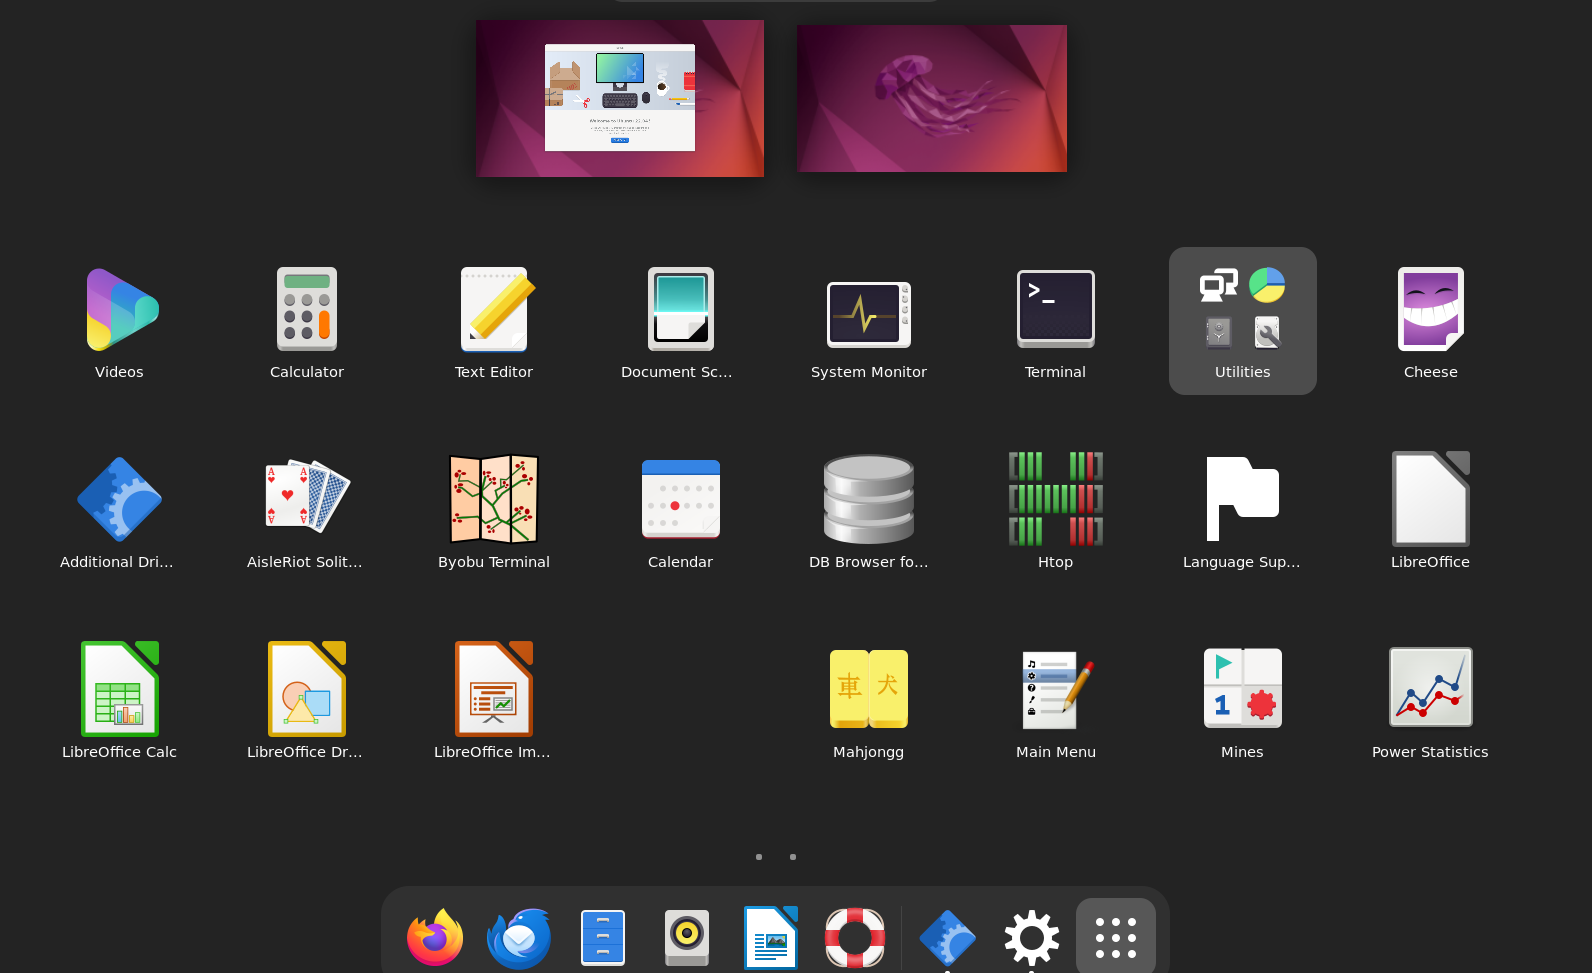
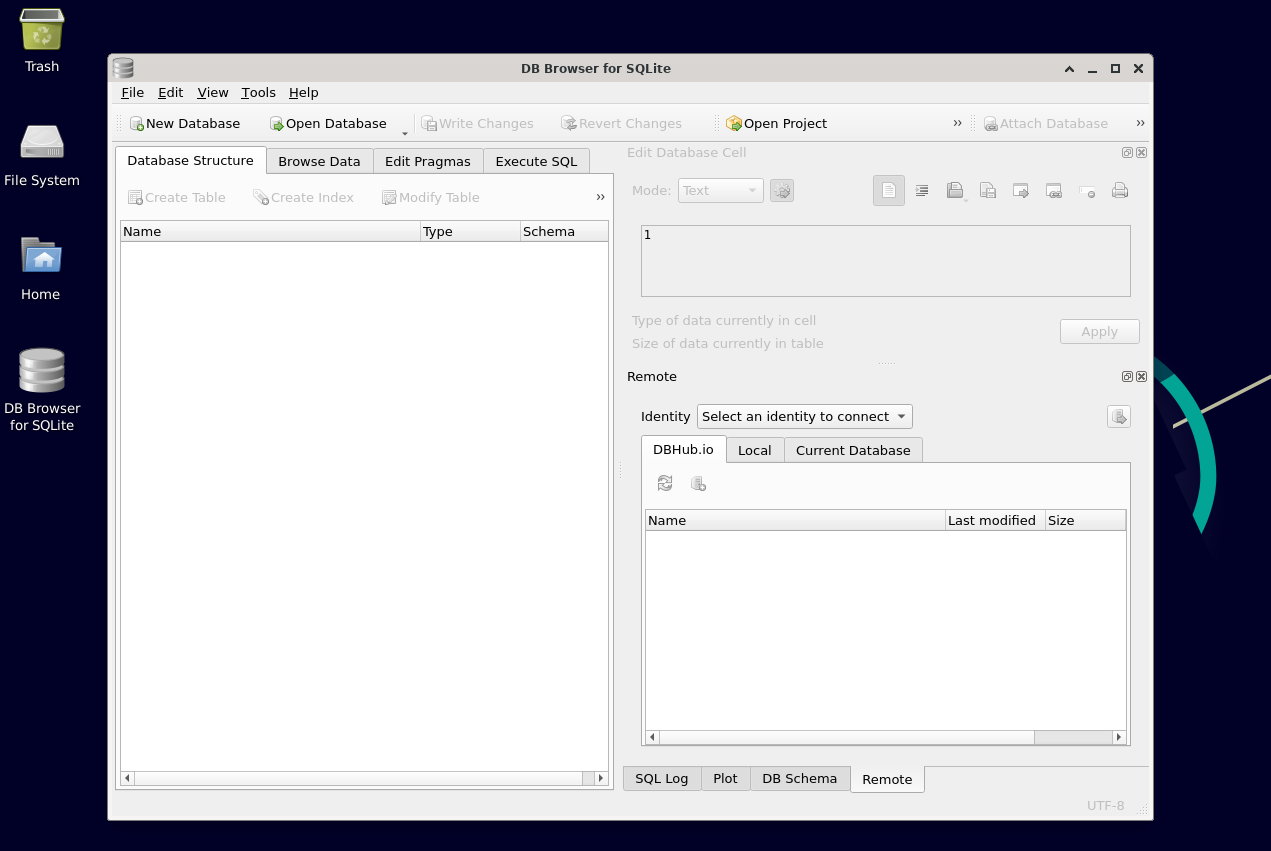
Step 7: Click on the desktop DB Browser for SQLite software.
By default, xrdp uses a self-signed TLS certificate to encrypt remote desktop sessions.
Neither AWS nor the xrdp maintainers recommend using self-signed certificates in production.
Instead, obtain a certificate from an appropriate certificate authority (CA) and install it on your instances.
For more information about TLS configuration, see TLS security layer on the xrdp wiki.
https://github.com/neutrinolabs/xrdp/wiki/TLS-security-layer
Install the certificate and key.
If you already have a certificate and key, copy them to the /etc/xrdp/ directory as follows:
- Certificate — /etc/xrdp/cert.pem
- Key — /etc/xrdp/key.pem
If you do not have a certificate and key, use the following command to generate them in the /etc/xrdp directory.
- sudo openssl req -x509 -sha384 -newkey rsa:3072 -nodes -keyout /etc/xrdp/key.pem -out /etc/xrdp/cert.pem -days 365
2. Sqltie
Visual access: Click on the desktop DB Browser for SQLite software to access or create a slqite database.
Programming interaction: Interacting with databases via programming languages such as Java, Python, Lua, PHP, Ruby, C++, and others provide interfaces (or "bindings") to SQLite.
More detailed tutorial, refer to the official documentation at https://www.sqlite.org/docs.html
3. SSH Server Connection
Username: admin or ubuntu
Password: 8 characters after the instance ID
4. Related commands
- Start xrdp service: `sudo service xrdp start`
- Restart xrdp service: `sudo service xrdp restart`
- Stop xrdp service: `sudo systemctl stop xrdp`
- Check xrdp service status: `sudo service xrdp status`