Redmine on Ubuntu22.04 with support by Fleximg
AWS-Marketplace
https://aws.amazon.com/marketplace/pp/prodview-kcaffq2wml4ya
Usage Instructions
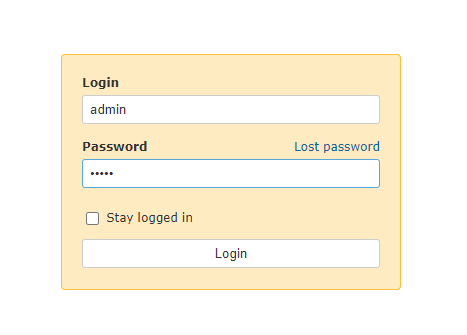
1. Login to Redmine
Open the Redmine home-page and enter the login details
http://{your-host-ip}:3100
Username: admin
Password: admin
Click on the login tab
2. Main Page
After login, main page will show up..


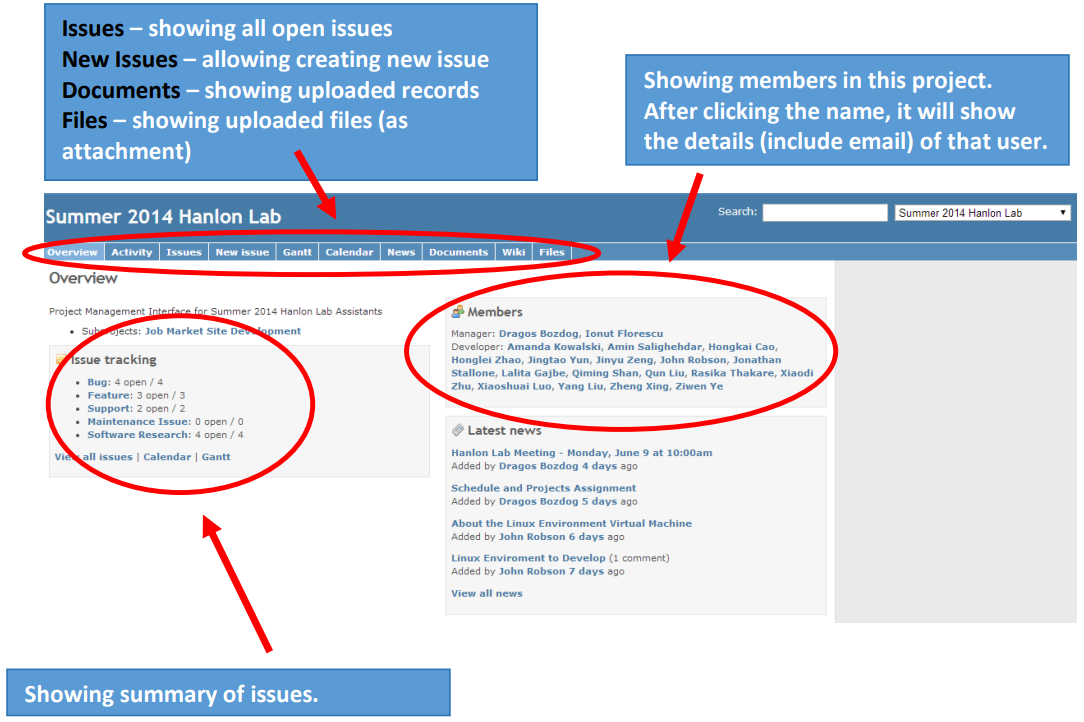
3. Project main page
After jumping to the project you want, the overview of this project will show up.
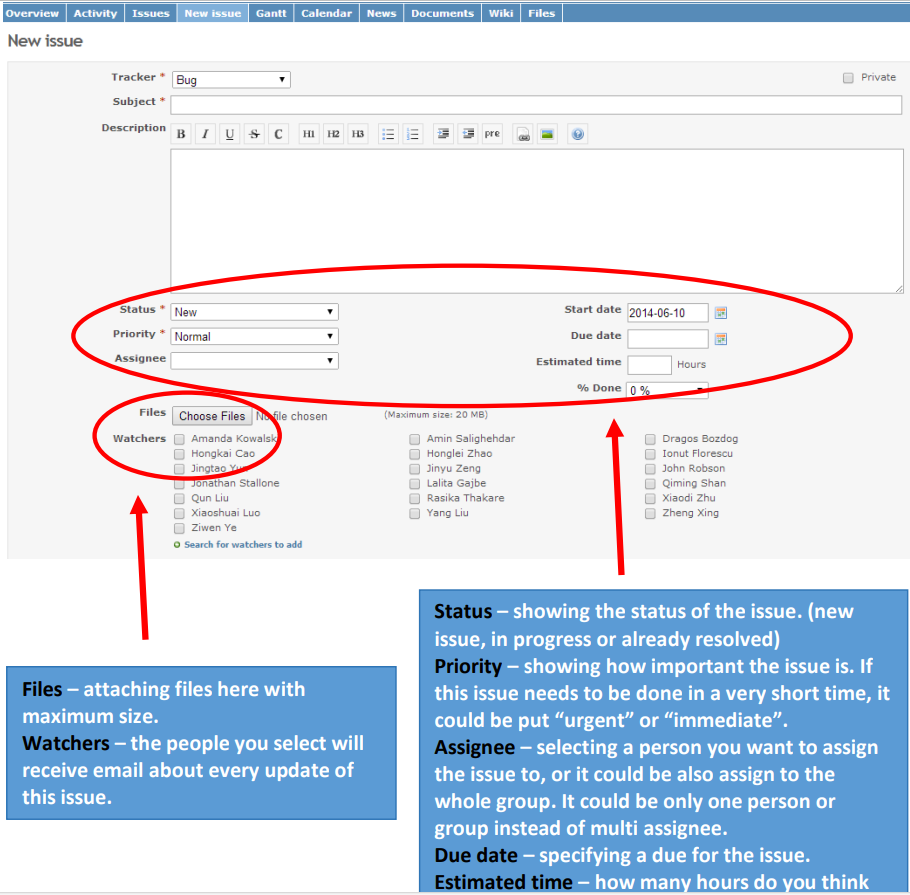
4. Issues
After clicking “new issue” (shown in section III), you are able to create an issue. Subject and Description let you put details about the issue.
After clicking “Issues”, a list of open issues will show up. In the list, there will be updated time, author &assignee, priority, status and subject of each issue. By clicking the subject of the issue, you are able to enter the issue and see description&update details.
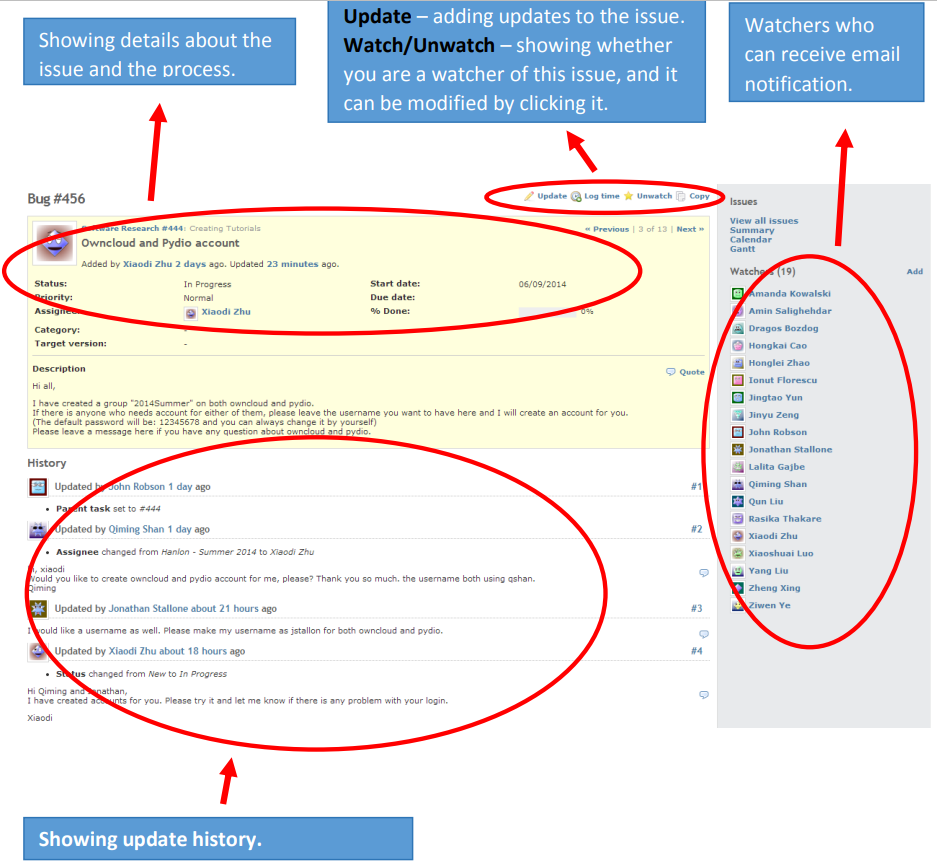
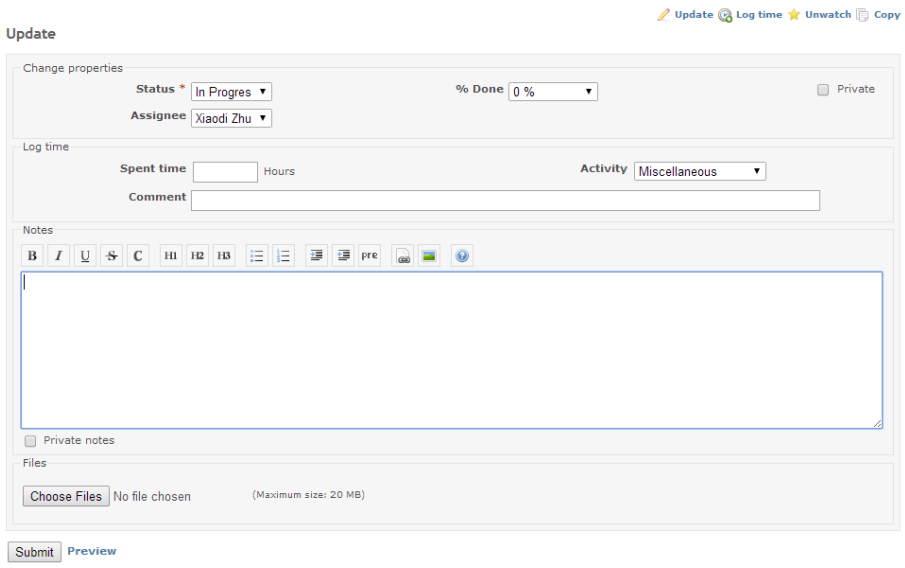
In an issue, after clicking “Update”, a section will show up which allowing user to enter details. In this section, you are able to change the properties of the issue (e.g. how many percentage has been done, assignee changing, etc.). The “Log time” section let users to record how many hours have been spent on this issue. Uploading attachment is also allowed. After you finish the updating and submit it, watchers will receive an email about the updates and people can always check the update history under this issue.
Notes: If this issue has been done, please change the “Status” to “Resolved”. The managers of this project have the right to close the issue which will remove the issue from open issue list.
5. Documents and Files
In “Documents” section, a user is allowed to create new documents with both text and files. For the closed issue will disappear from issue list, if there is some notes or procedures of the issue need to be kept for further use, they could be updated under “Documents” section that everyone can see it.

“Files” section has the similar function as “Documents”. But it only allows users to upload and download files without text description.

7. Others
“Activity” and “Calendar” show the status changes of issues under this projects ordering by time and date. “Gantt” shows the summary of all issue including the due date allowing users to track the issues better. “Wiki” uses a kind of “HTML” language to write contents to the website which has the similar recording function as “Documents”.
Refer to the official course: https://www.redmine.org/projects/redmine/wiki/Guide
Related commands
`bundle exec rails server -u webrick -e production -b 0.0.0.0 -p 30010 &`
- To check if Ruby is running, use the following command: br> <`ps aux | grep ruby`
- To stop the Redmine service, use the following commande:
`sudo kill -9 [PID]`